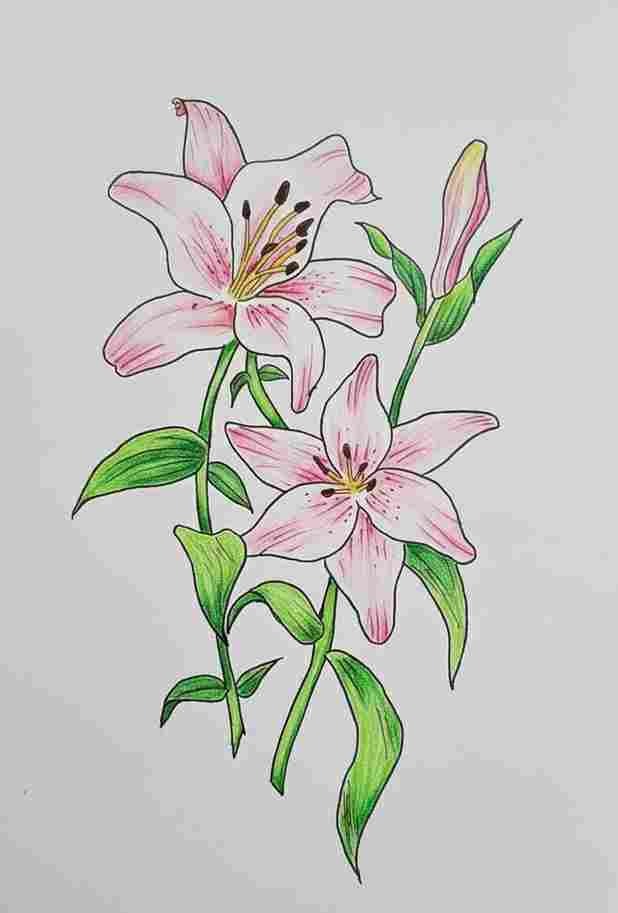
How to Draw a Flower Easy Step-by-Step flower drawing for beginners
A flower drawing looks simple, but turning soft petals and curved shapes into a beautiful sketch takes a bit of structure. In this guide, you’ll learn how to draw a flower using clear, beginner-friendly steps with six image placeholders you can upload later.
You will also find tips, mistakes to avoid, shading tricks, and tutorials to help your readers explore more drawing guides.
What You Will Learn
This guide teaches you how to draw a flower from basic shapes to a polished sketch. You’ll learn:
- How to build the base using simple shapes
- How to draw petals that look natural
- How to add a center, stem, and leaves
- How to shade and add color
- 6 image markers placed exactly where needed
This is written intentionally simple so even beginners, kids, and hobby artists can follow along.
Step-by-Step: How to Draw a Flower
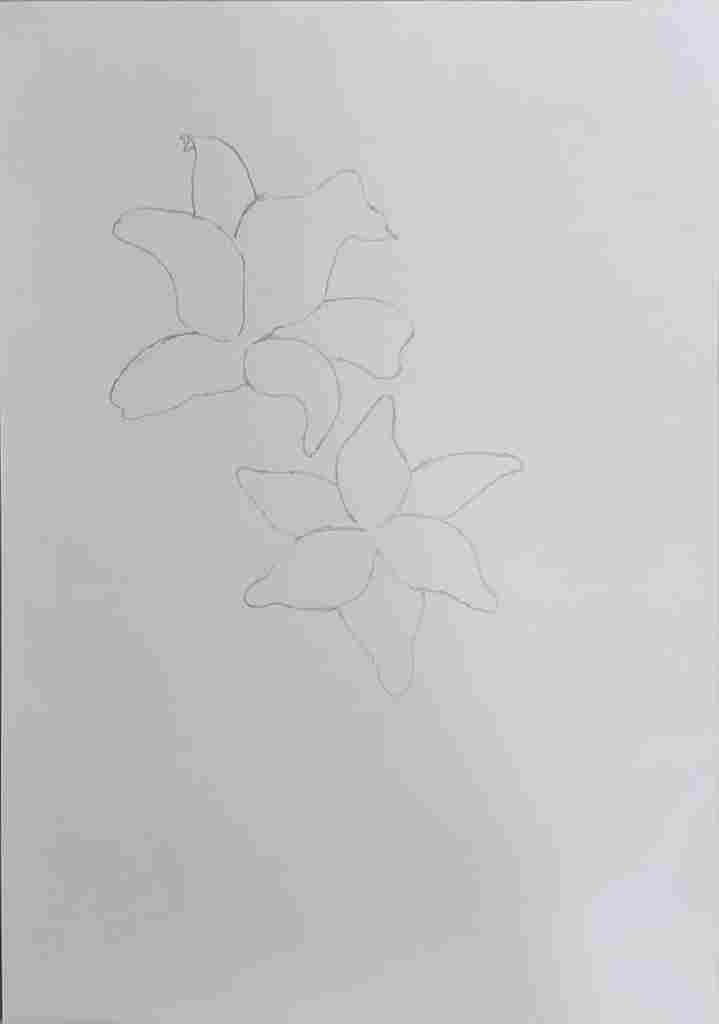
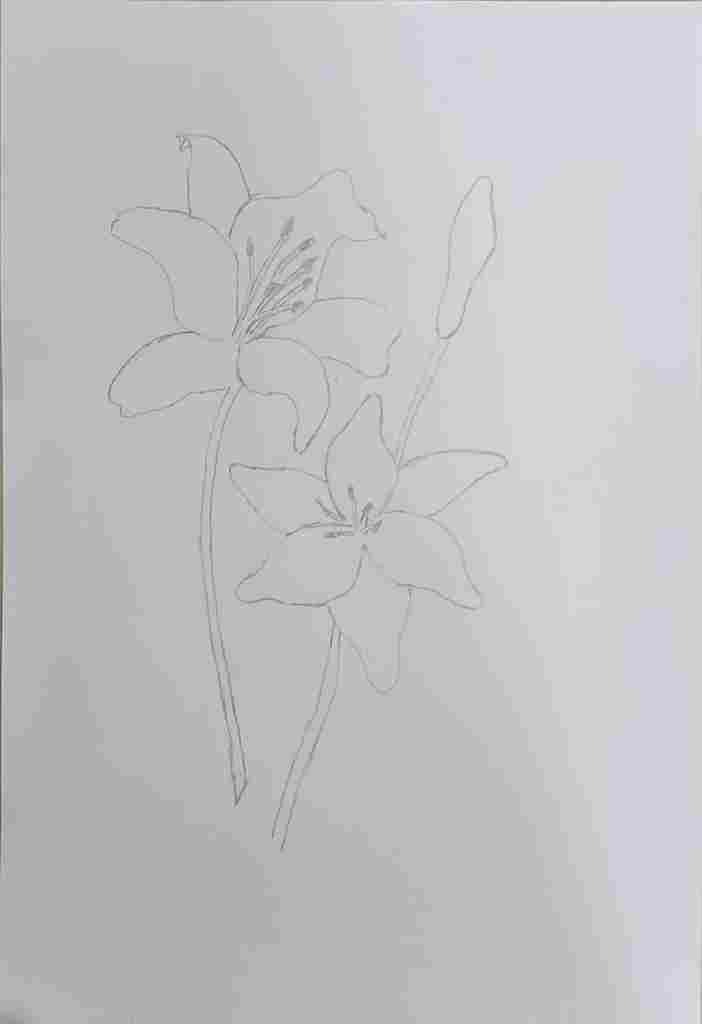
Step 1: Start With the Basic Shape
Before anything else, lightly sketch the simple structure of the flower.
What to draw:
- A small circle for the center
- A larger circle around it to show the petal reach
- Light marks for the stem and leaves
This step works like a “map” for your final drawing.

Pro tip: Keep the pencil strokes light so they erase easily.
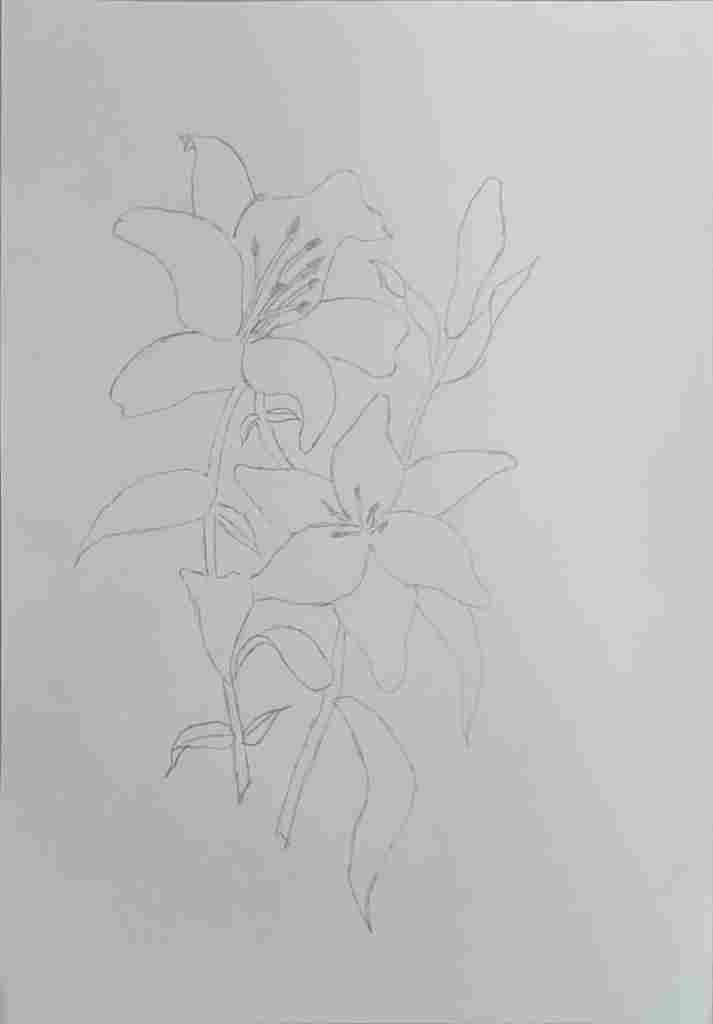
Step 2: Add Petal Shapes Around the Center
Now shape the petals around the center circle. Start with 5–8 basic oval-like shapes.
How to shape petals:
- Start narrow at the center
- Curve the sides outward
- Bring the ends back smoothly
- Vary shapes slightly for a natural look
If you want more help understanding organic shapes, check this cute tutorial on drawing rounded elements similar to petals in this mushroom guide: the soft shapes section inside
This gives beginners a good sense of natural flow.
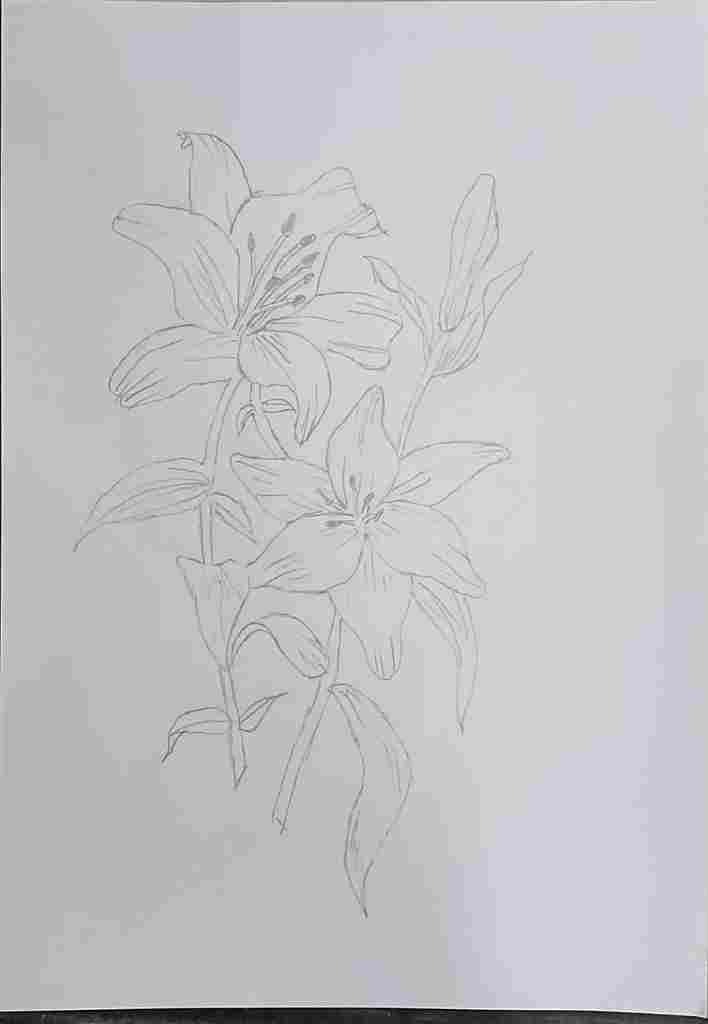
Step 3: Define the Flower Center (Details + Overlap)
Inside the middle circle, add tiny bumps, dots, or small lines to show texture.
Then erase the extra guidelines and decide which petals sit on top of others.
What to remember:
- The center is slightly dome-shaped
- Add subtle shading at the bottom edge of the center
- Overlapping petals make the flower look real
Step 4: Draw the Stem and Leaves
Now extend a simple curved line downward from the flower. Flowers almost never grow perfectly straight adding a slight bend makes the drawing feel alive.
Leaf tips:
- Leaves often start narrow near the stem
- They widen at the middle
- Add one clean central vein
- Then add a few small side veins
Step 5: Add Outlines and Light Shading
Once your structure looks good, go over your final petal and leaf lines with a slightly darker stroke.
Now add shadows:
Where to shade:
- At the base of each petal
- Beneath overlapping petals
- At the bottom of the flower center
- Under the leaf curves
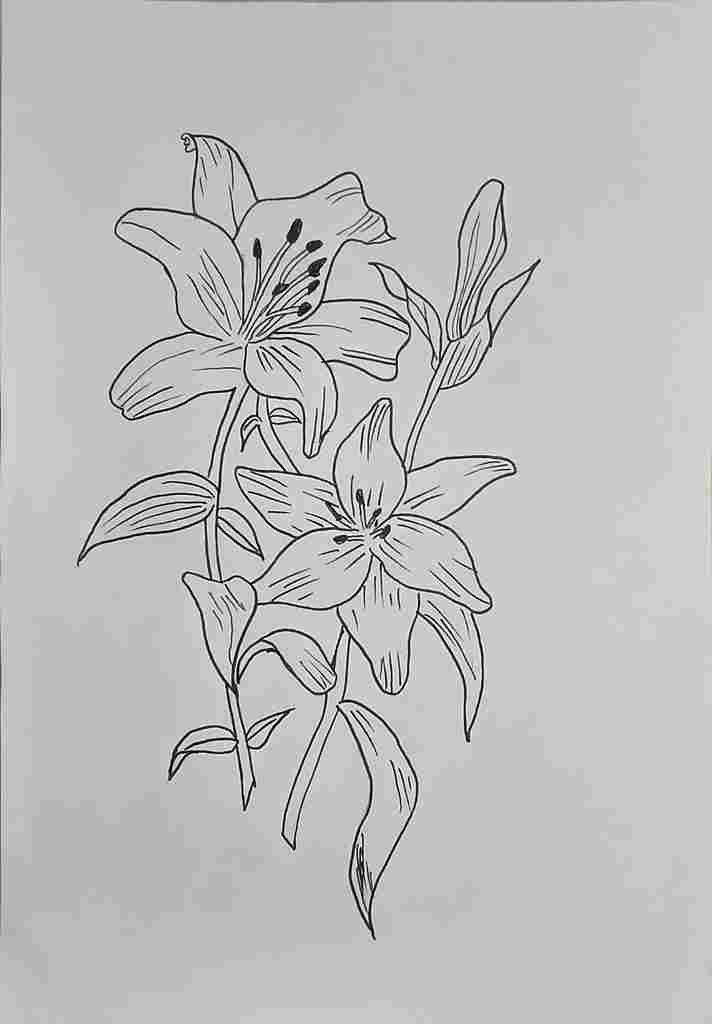
Take your time. Slow shading builds realism better than dark strokes.
Step 6: Add Color (Optional but Beautiful!)
If you want to color the flower, keep it soft and gradual.
Color tips:
- Color lightly from center outward
- Darker tones at petal bases
- Lighter tones toward the edges
- Add a little green + yellow mix for realistic leaves
Extra Tips to Improve Your Flower Drawings
1. Avoid Perfect Symmetry
Flowers are natural, not mechanical. Vary your petal sizes a little.
2. Don’t Over-Outline
Soft objects look better with gentle outlines.
3. Keep the Petal Flow Consistent
All petals should bend in a direction that matches the flower’s viewpoint.
4. Use Layering
When petals overlap, shade the ones behind slightly darker.
Common Flower Drawing Mistakes (and How to Fix Them)
Mistake 1 — All Petals Look the Same
Fix: Change shapes, angles, and slight sizes.
Mistake 2 — Flat Looking Center
Fix: Darken the lower half of the center to make it dome-like.
Mistake 3 — Stiff Stem
Fix: Add a small bend — it instantly looks more natural.
Mistake 4 — Over-Shading Too Early
Fix: Shade lightly at first, darken later.
Practice Ideas: Level Up Fast
Beginner Practice:
Draw 10 flowers using only circles and oval petals.
Intermediate Practice:
Try drawing flowers from photos. Change angles and petal counts.
Advanced Practice:
Draw flowers with foreshortened petals and dramatic shadows.
Want Another Fun Drawing Tutorial?
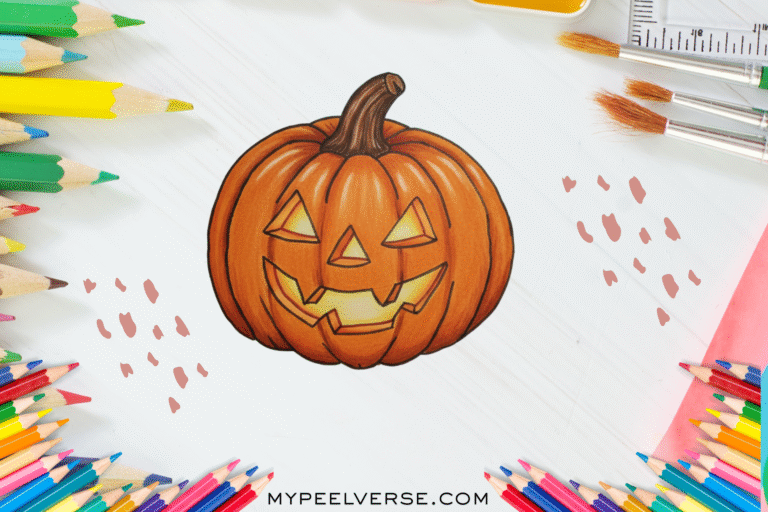
If you enjoy drawing simple shapes, you will love this seasonal guide on shaping and carving a Jack-o’-lantern the curved lines are great practice for petals:
The rounded pumpkin shapes are surprisingly similar to flower construction.
Final Thoughts
Flower drawing becomes easy when you break it into simple steps. Start with shapes, build your petals, add the center, finish the stem, and shade lightly. With just a little practice, you will be able to draw dozens of flower types effortlessly.