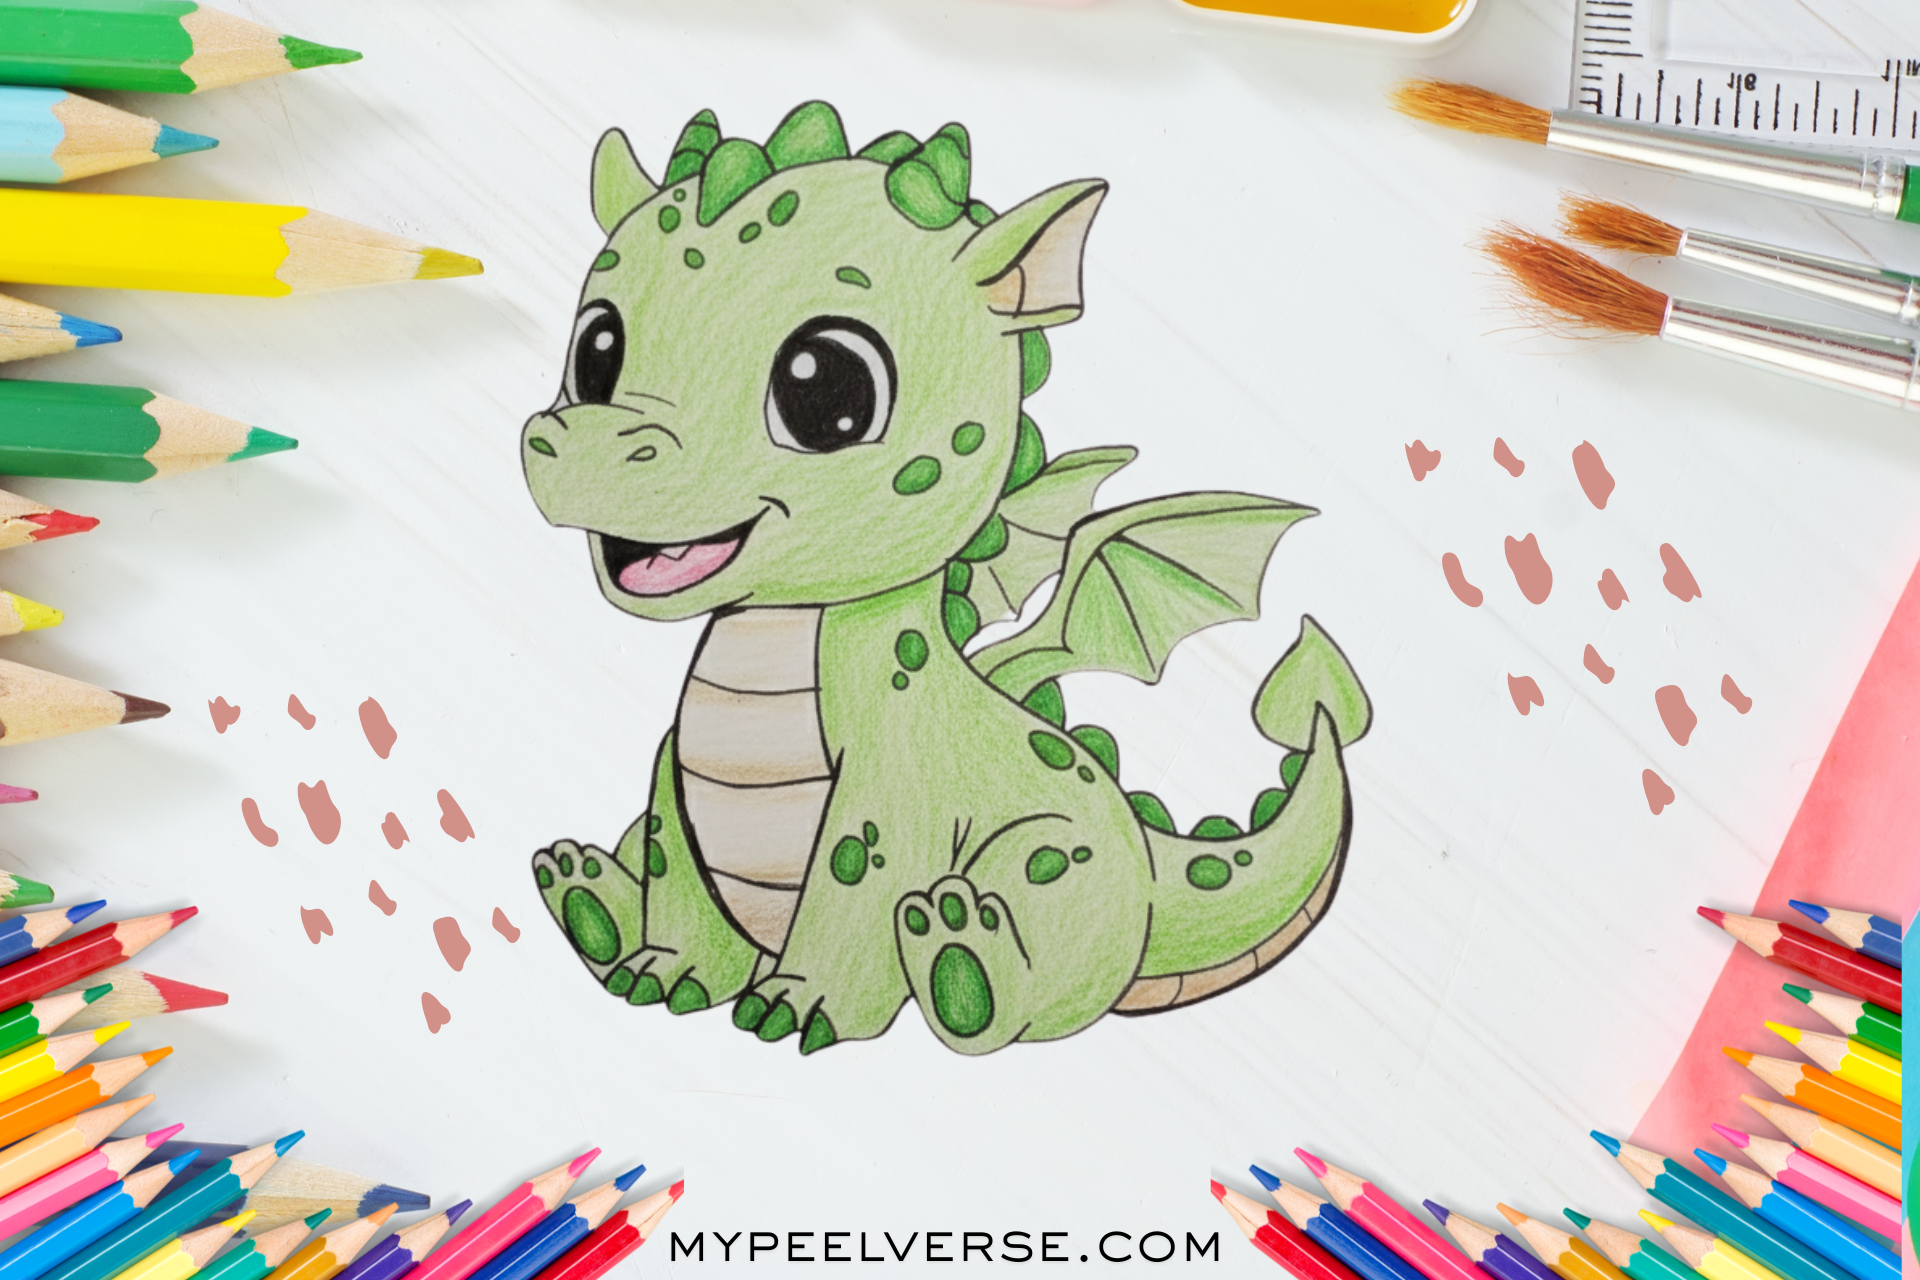
Dragon Drawing Easy: A Step-by-Step Guide for Beginners
Drawing a dragon may seem challenging, but with this Dragon Drawing Easy guide, beginners can learn to create amazing dragons step by step. Whether you’re a beginner or looking to improve, this tutorial guides you through the process of creating a simple dragon drawing, step by step. We’ll cover everything from sketching basic shapes to adding the final details.
By the end of this guide, you’ll be able to create a full-body dragon drawing easily, and have the skills to add your own unique touch to it. Let’s get started!
Why Draw Dragons?
Dragons are among the most popular creatures in folklore, games, and movies. They are symbols of strength, mystery, and magic. Whether you’re drawing a realistic dragon or just trying to create an easy dragon drawing, it’s an exciting way to hone your skills and express creativity.
What makes dragon drawings so great is their flexibility. You can create a realistic dragon head drawing or keep it simple with an easy outline of a dragon. Dragons can look however you want, whether fierce or friendly. This versatility makes dragons a fun and accessible subject for artists at all levels.
What You Need to Draw a Dragon
To get started, you don’t need complex tools—just a few basics will do the job!
Materials:
- Pencil: Use a 2B or 4B pencil for clear lines and good shading.
- Eraser: A simple eraser to clean up your work.
- Paper: Any sketchbook or drawing paper will be fine.
- Optional: Colored pencils or markers if you want to add color to your dragon.
With these basic tools, you’re ready to start!
Step 1: Start with Basic Shapes
Begin by sketching the fundamental shapes that will form your dragon’s structure. These include circles, ovals, and simple lines. Think of it as building the skeleton of your dragon.
1.1 The Head
Draw a small oval for the dragon’s head. This will be your reference point, so place it toward the top-center of your page.
1.2 The Body
Now, add a larger oval or circle to represent the dragon’s body. Make it bigger than the head. This body will serve as the main structure of your dragon.
1.3 The Tail
Draw a long, curved line extending from the back of the body to form the tail. Depending on the type of dragon, you can make it thick or thin.
1.4 Limbs
Next, add lines where you want the legs. Dragons generally have four limbs—two front legs and two hind legs.
1.5 The Neck
The neck connects the head to the body. Draw a curved line for the neck, keeping it flexible and serpentine, as dragons often have graceful necks.
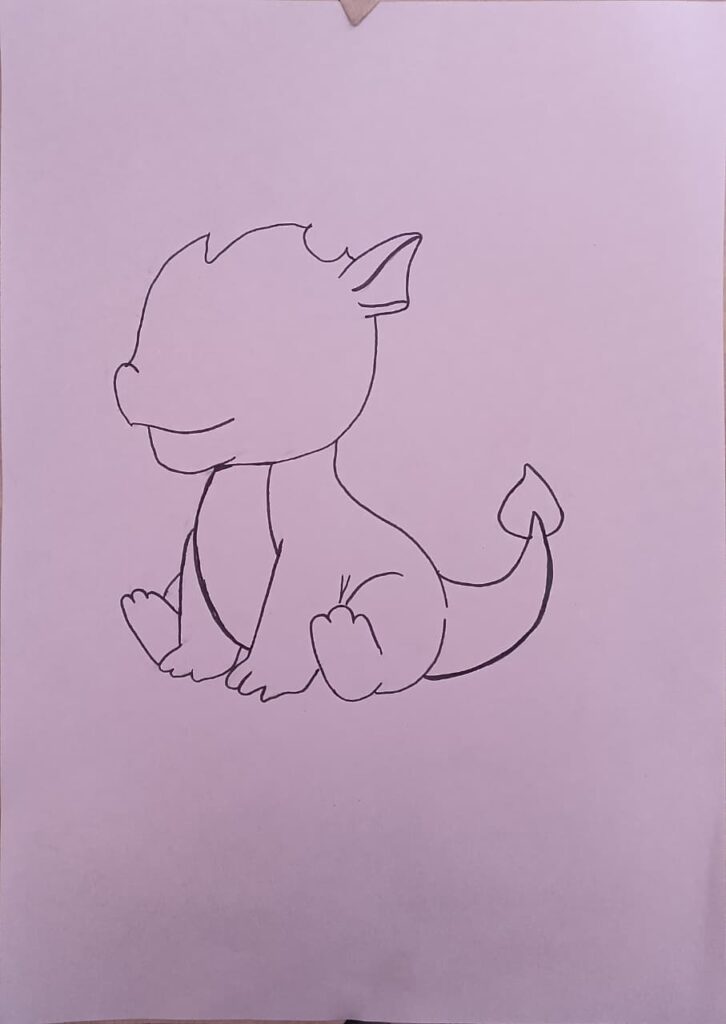
Step 2: Define the Dragon’s Outline
Now that you have your basic structure, it’s time to add details and refine the outline.
2.1 The Head and Features
Start by rounding out the head shape. Add the eyes, nostrils, and ears, shaping them according to the dragon’s character.
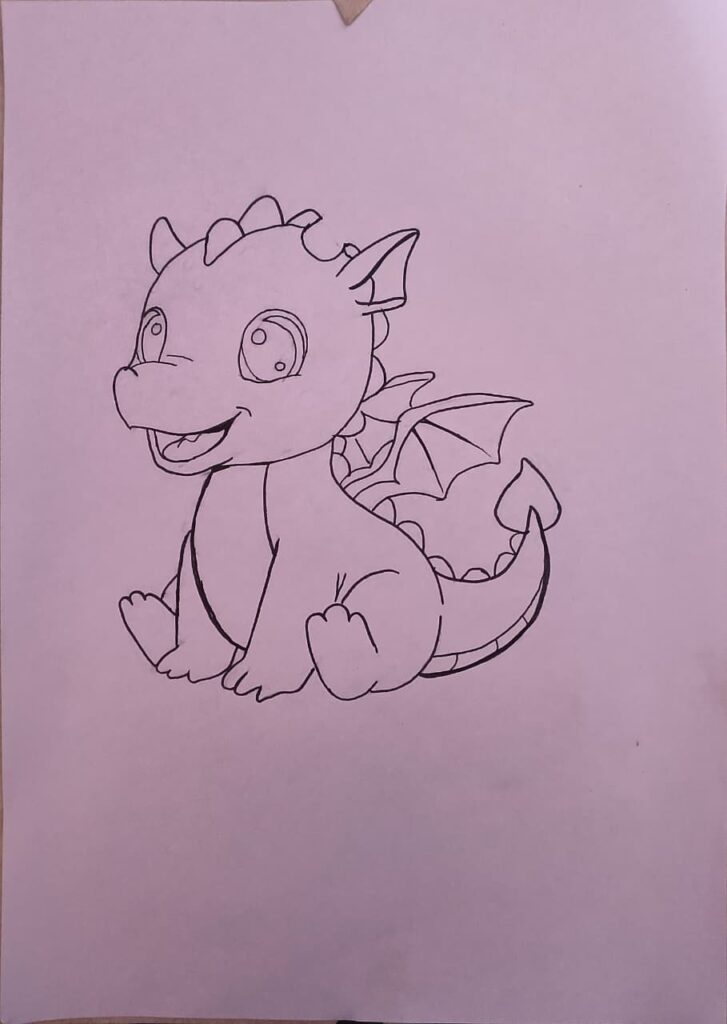
2.2 The Wings (Optional)
Not all dragons have wings, but many do. To add wings, draw two large triangles extending from the dragon’s back. Then connect them with curved lines to form the wing shape.
2.3 The Body and Limbs
Define the body’s shape, giving it muscular form with broad shoulders and a tapered waist. For the legs, refine the lines you drew earlier into detailed limbs and feet, adding claws for extra character.
2.4 The Tail
Shape the tail with smooth curves, and add some spikes or fins if desired. This will make your dragon’s tail stand out.
Step 3: Adding Texture and Details
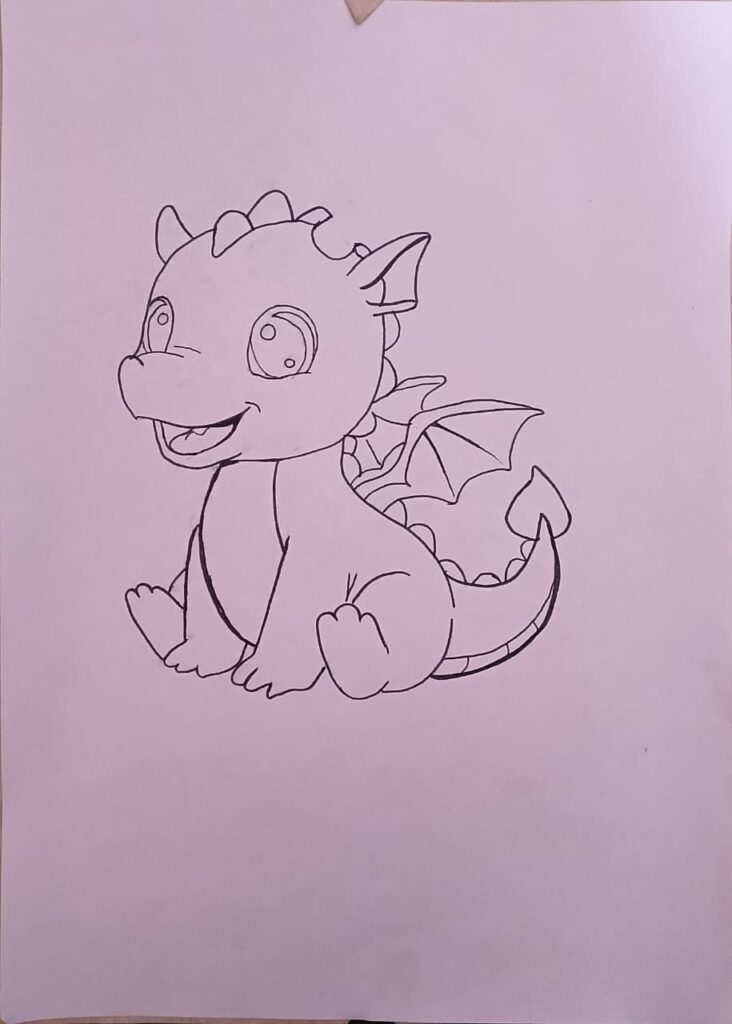
This is where your dragon really starts to come alive! Adding texture like scales and other details makes your dragon more dynamic and believable.
3.1 Scales
Start adding curved lines to represent scales along the dragon’s back, neck, and tail. Overlap the scales slightly to create a more realistic look.
3.2 Skin Texture
Draw rough lines around the body for a more leathery texture. This will give your dragon a tougher appearance.
3.3 Horns and Spikes
Draw horns or spikes along the dragon’s back and tail. Use jagged or curved lines, depending on the look you want to achieve.
Step 4: Adding Facial Details
The face is where your dragon’s personality shines through. Whether you want a fierce expression or a more gentle look, this is where you can get creative.
4.1 Eyes
Draw large, almond-shaped eyes, and add a vertical slit for the pupil to make them look sharp and intense. The eyes will really help define the dragon’s character.
4.2 Teeth and Mouth
Give your dragon sharp, jagged teeth inside the mouth. A slight curve to the mouth can add a snarl or fierce expression.
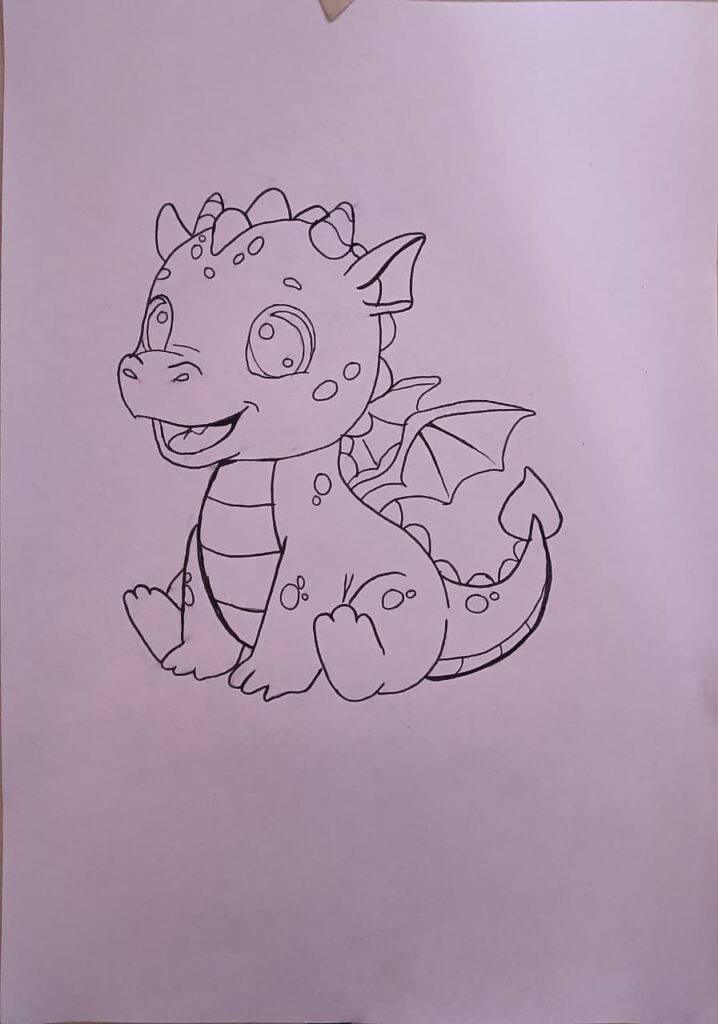
Step 5: Shading and Final Details

The final touches will bring your dragon to life. Adding shading will give it depth and make it look three-dimensional.
5.1 Shading
Using your pencil, add shading where the light doesn’t hit directly. Darken the areas that are in shadow to create a realistic effect. Blend the shading to ensure smooth transitions.
5.2 Additional Texture
For more texture, use finer lines to emphasize the scales and skin, making the drawing feel more detailed and intricate.
Step 6: Adding Color (Optional)
If you want your dragon to pop even more, consider adding color. Whether you use colored pencils, markers, or digital tools, you can bring your dragon to life with vibrant hues. Experiment with colors like red, green, or blue, and use gradients to show light and shadow.
Conclusion
And there you have it your easy dragon drawing is complete! Whether you opted for a realistic dragon drawing, simple full body dragon drawing, or a dragon outline drawing, you now have the skills to create a dragon of your own.
Remember, the more you practice, the better your drawings will become. Experiment with different dragon designs and don’t be afraid to get creative. Soon, you’ll have an entire army of dragons in your sketchbook!