The Ultimate Guide to Mushroom Drawing: Techniques, Tools, and Tips for Mastery
Mushrooms are fun and magical to draw! You can find them in forests or see them in storybooks with tiny toadstools and big colorful caps. Mushroom drawing is exciting because each mushroom looks different some are round, some are tall, and some have funny shapes. In this easy guide, you’ll learn how to draw mushrooms step by step. We’ll show you how to make them look real or turn them into your own creative, cute designs!
What You Will Learn:
- The anatomy of mushrooms and how it translates to your drawings
- The best tools and supplies for mushroom drawing, both digital and traditional
- Step-by-step techniques for drawing realistic and imaginative mushrooms
- Common mistakes to avoid and how to fix them
- How to add depth, texture, and lighting to your mushroom drawings
- The importance of species diversity in mushroom drawing
Let’s dive in!
Understanding Mushroom Anatomy: A Key to Realistic Drawing
Before you pick up your pencil or stylus, it’s crucial to understand what you’re drawing. Mushrooms, while often overlooked, have a fascinating structure. The anatomy of a mushroom consists of several distinct parts, each offering unique challenges and opportunities for an artist.
The Starting Parts of a Mushroom:
- Cap: The most iconic part of the mushroom, its shape can vary from rounded to bell-shaped, flat, or even wavy. Understanding how the cap connects with the stem is essential to drawing a realistic mushroom.
- Stem: The stalk that holds the cap upright. The stem can have a smooth or textured surface, which you’ll need to capture to give the drawing authenticity.
- Gills: The underlayer of the cap, where the spores are produced. Drawing realistic gills requires attention to the light and shadows that create depth.
- Ring and Volva: These are less common in all mushroom types but can be important in certain species like Amanita muscaria (the iconic red and white mushroom). These features can add texture and visual interest to your drawing.
Understanding these components will help you break down the drawing process into manageable steps and improve your accuracy.
Tools You Need for Mushroom Drawing
No matter how good your technique is, the right tools can make all the difference. Whether you’re working traditionally with pencils and paper or digitally with a tablet, choosing the right materials will elevate your mushroom drawings. Here’s a breakdown of the best tools for each approach.
Traditional Tools
- Pencils: For realistic mushroom drawings, you’ll want a range of pencils. Start with a hard pencil (e.g., 2H) for light lines and progress to softer pencils (e.g., 6B) for shading and texture.
- Erasers: A kneaded eraser is essential for lifting graphite without damaging the paper, especially when working on lighter areas like the gills.
- Paper: Choose a textured paper to capture the fine details of the mushroom’s surface, like the spongy texture of the stem or the ridges on the cap.
Digital Tools
- Tablet and Stylus: If you prefer digital mushroom drawing, invest in a good tablet (such as the Wacom Intuos Pro or an iPad Pro) paired with a high-quality stylus like the Apple Pencil.
- Drawing Software: Use programs like Procreate, Adobe Fresco, or Clip Studio Paint for creating detailed mushroom illustrations. Each offers various brushes and tools that mimic traditional textures, like pen, pencil, and watercolor brushes.
Step-by-Step Process: Drawing a Mushroom from Scratch
Now that you’ve got your tools ready and have a solid understanding of mushroom anatomy, let’s dive into a step-by-step process for drawing a mushroom.
Step 1: Start with the Basic Shape
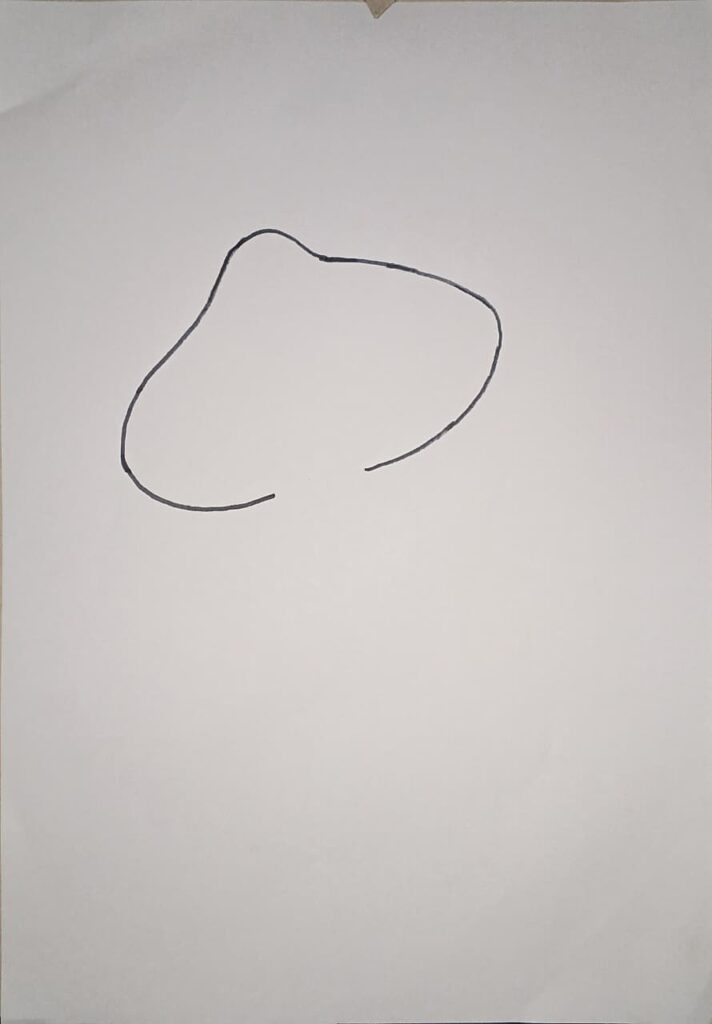
Begin by sketching a basic oval or circular shape for the cap. The stem can be a simple straight line or a slightly curved form. Use light, simple lines at first—this is just a rough outline.
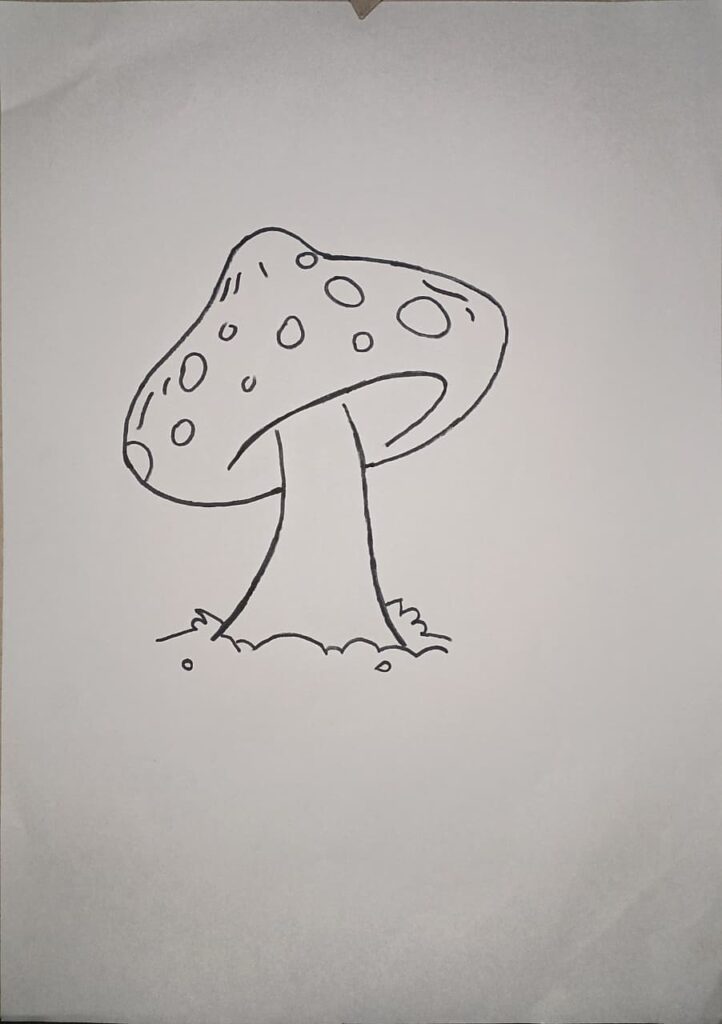
Step 2: Add the Cap Details
The cap of a mushroom is rarely perfectly smooth. Add some texture with light strokes, indicating where the ridges or wrinkles will go. Mushrooms like the Agaric have distinct scales on their caps, while others, like the Boletus, may have a more spongy surface.
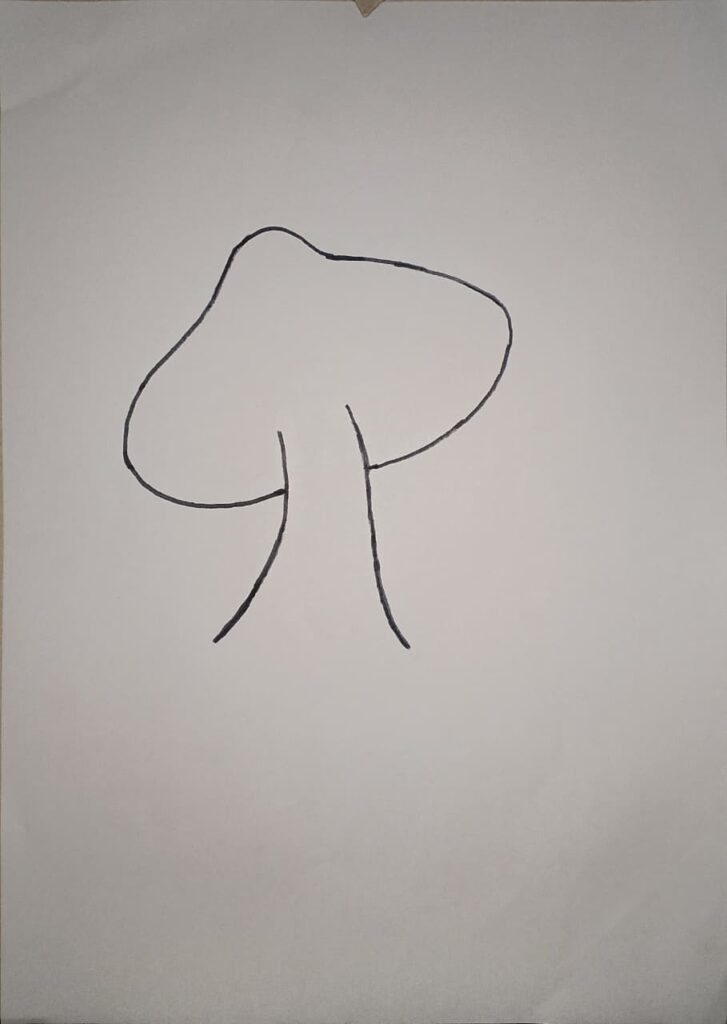
Step 3: Draw the Stem
Next, refine the shape of the stem. Some mushrooms have thick, bulbous stems, while others are thinner and more delicate. Add texture here as well especially near the base where it connects to the soil.
Step 4: Detail the Gills
This is where many mushroom drawings go wrong. To draw realistic gills, focus on the way light hits them. Draw them in a series of parallel lines underneath the cap, ensuring they radiate outward from the center.
Step 5: Add Shading and Texturing
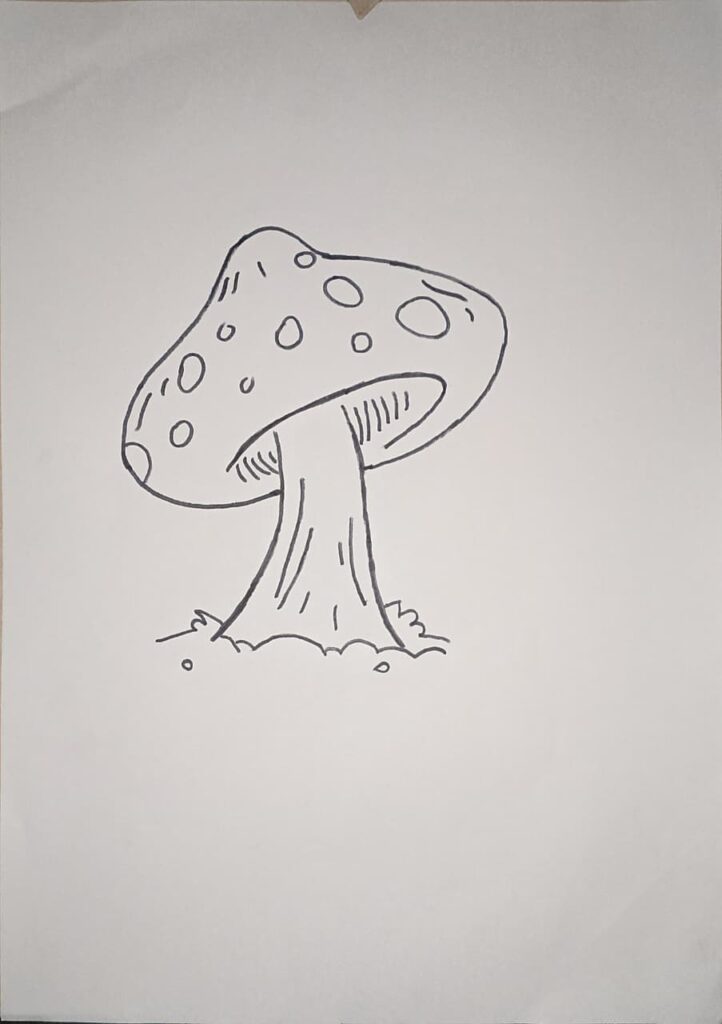
Now comes the fun part adding depth. Mushrooms are often lit from above, so remember to darken areas that are in shadow. Use soft pencils or a digital brush to create smooth gradients on the cap, stem, and ground. Use hatching or cross-hatching techniques for finer details on the stem.
Common Mistakes to Avoid in Mushroom Drawing
While drawing mushrooms is fun, it can also be tricky. Let’s look at some common mistakes to watch out for and how to avoid them.
1. Incorrect Proportions
One of the most frequent errors is drawing mushrooms with proportions that are off. The stem might be too thin, or the cap too large. Always refer to real images of the mushroom species you’re drawing to ensure accuracy.
2. Overlooking Shadows
Mushrooms are three-dimensional, so they need shadows to look realistic. Don’t just add shading on the mushroom itself consider the surrounding environment and how the light interacts with it.
3. Forgetting Environmental Context
Another mistake is drawing mushrooms in a vacuum. Mushrooms are typically part of an ecosystem. Adding grass, moss, or leaves around your mushroom will give it more depth and realism.
Advanced Techniques: Adding Light, Texture, and Realism to Your Mushroom Drawings
Once you’ve mastered the basics, it’s time to take your mushroom drawings to the next level. Advanced techniques like color theory, lighting, and texturing will give your work a more dynamic, realistic feel.
1. Playing with Light
Mushrooms are often found in low-light environments, which means shadows are key. Practice drawing how light interacts with the mushroom, focusing on how it hits the cap and stem.
2. Texture Techniques
Use stippling, cross-hatching, or even smudging to create texture on the cap and stem. Different mushrooms have unique surface qualities, so practice capturing these variations.
3. Layering in Color (for Colored Pencils/Watercolor Artists)
If you’re using colored pencils or watercolor, work in layers. Start with a light base and build up the shadows and colors slowly. This will add depth and richness to your mushroom illustration.
Conclusion:
Mushroom drawing can be both fun and challenging, but with the right approach and tools, you can create stunning, realistic mushrooms or beautifully stylized versions. Whether you’re a beginner or looking to refine your skills, these techniques and tips will help you elevate your art.
As with all drawing, practice is key. So grab your sketchbook, and start creating your own mushroom masterpiece today!